


No-knead bread is a tried and true technique, a fool-proof recipe that works every time and allows the option of turning your loaves into any special creation you could possibly think of.
Here are the basics:
Ingredients:
4 cups All-purpose flour (I prefer King Arthur unbleached)
1 ½ teaspoon Chef’s Blend Sea Salt Seasoning or kosher salt (don’t be tempted to hold back, nothing worse than bland bread)
¾ teaspoon instant dry yeast (I know that is an odd measurement but it is about ½ of one of those little packets that come three to a strip at the grocery store.
1 ½ cup tap water, lukewarm (that is about body temperature)
Method:
Put the flour, salt, and instant yeast in a medium bowl (3 to 4 qt)
If you are using active dry yeast instead of the instant, sprinkle the yeast into the warm water and let it set for about 5-10 minutes to allow it to hydrate and be ready for the dough.
Stir around to blend the dry ingredients using a fork or your fingers.
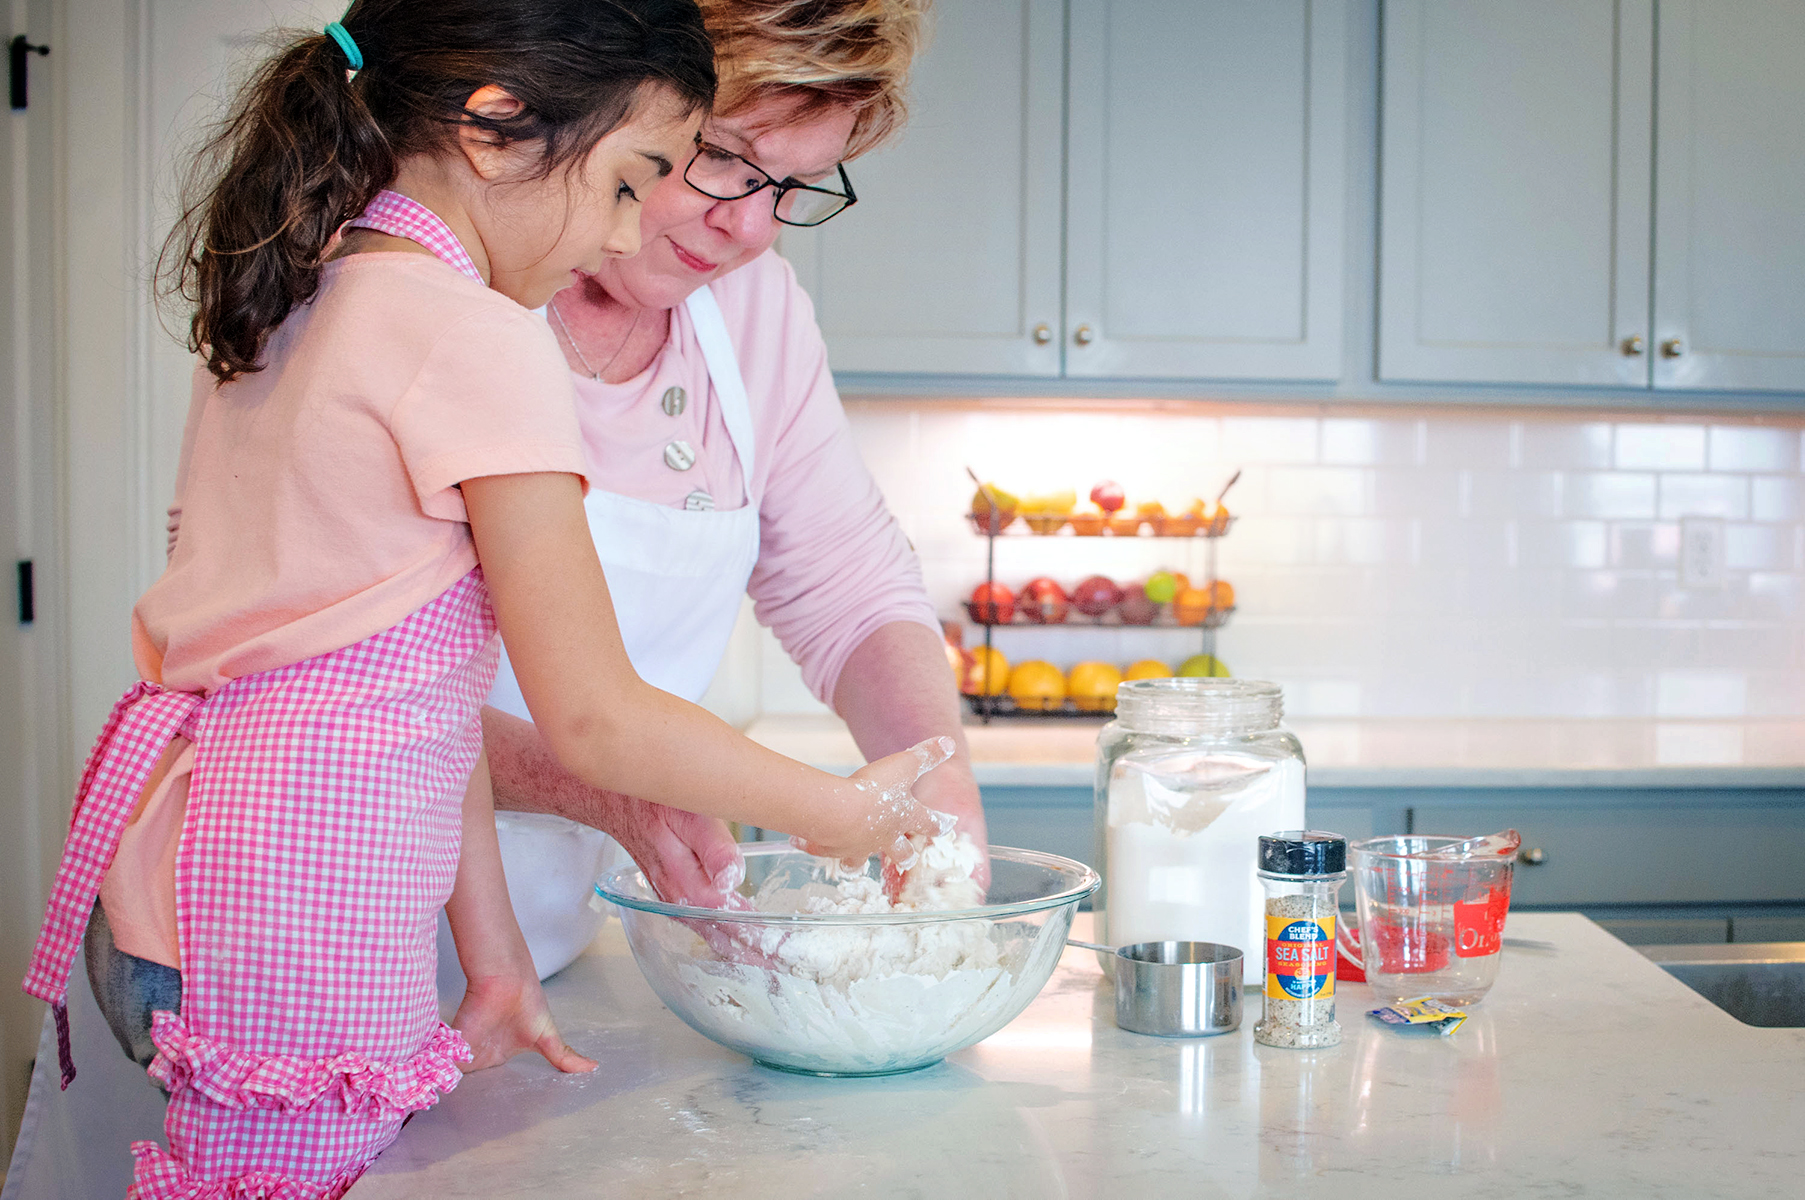
Add the water and again use your fingers or a wooden spoon, stir until the mass comes together.
Just stir until everything is incorporated and nothing dry is at bottom of bowl, it is no-knead so don’t worry about getting it to look like bread dough.
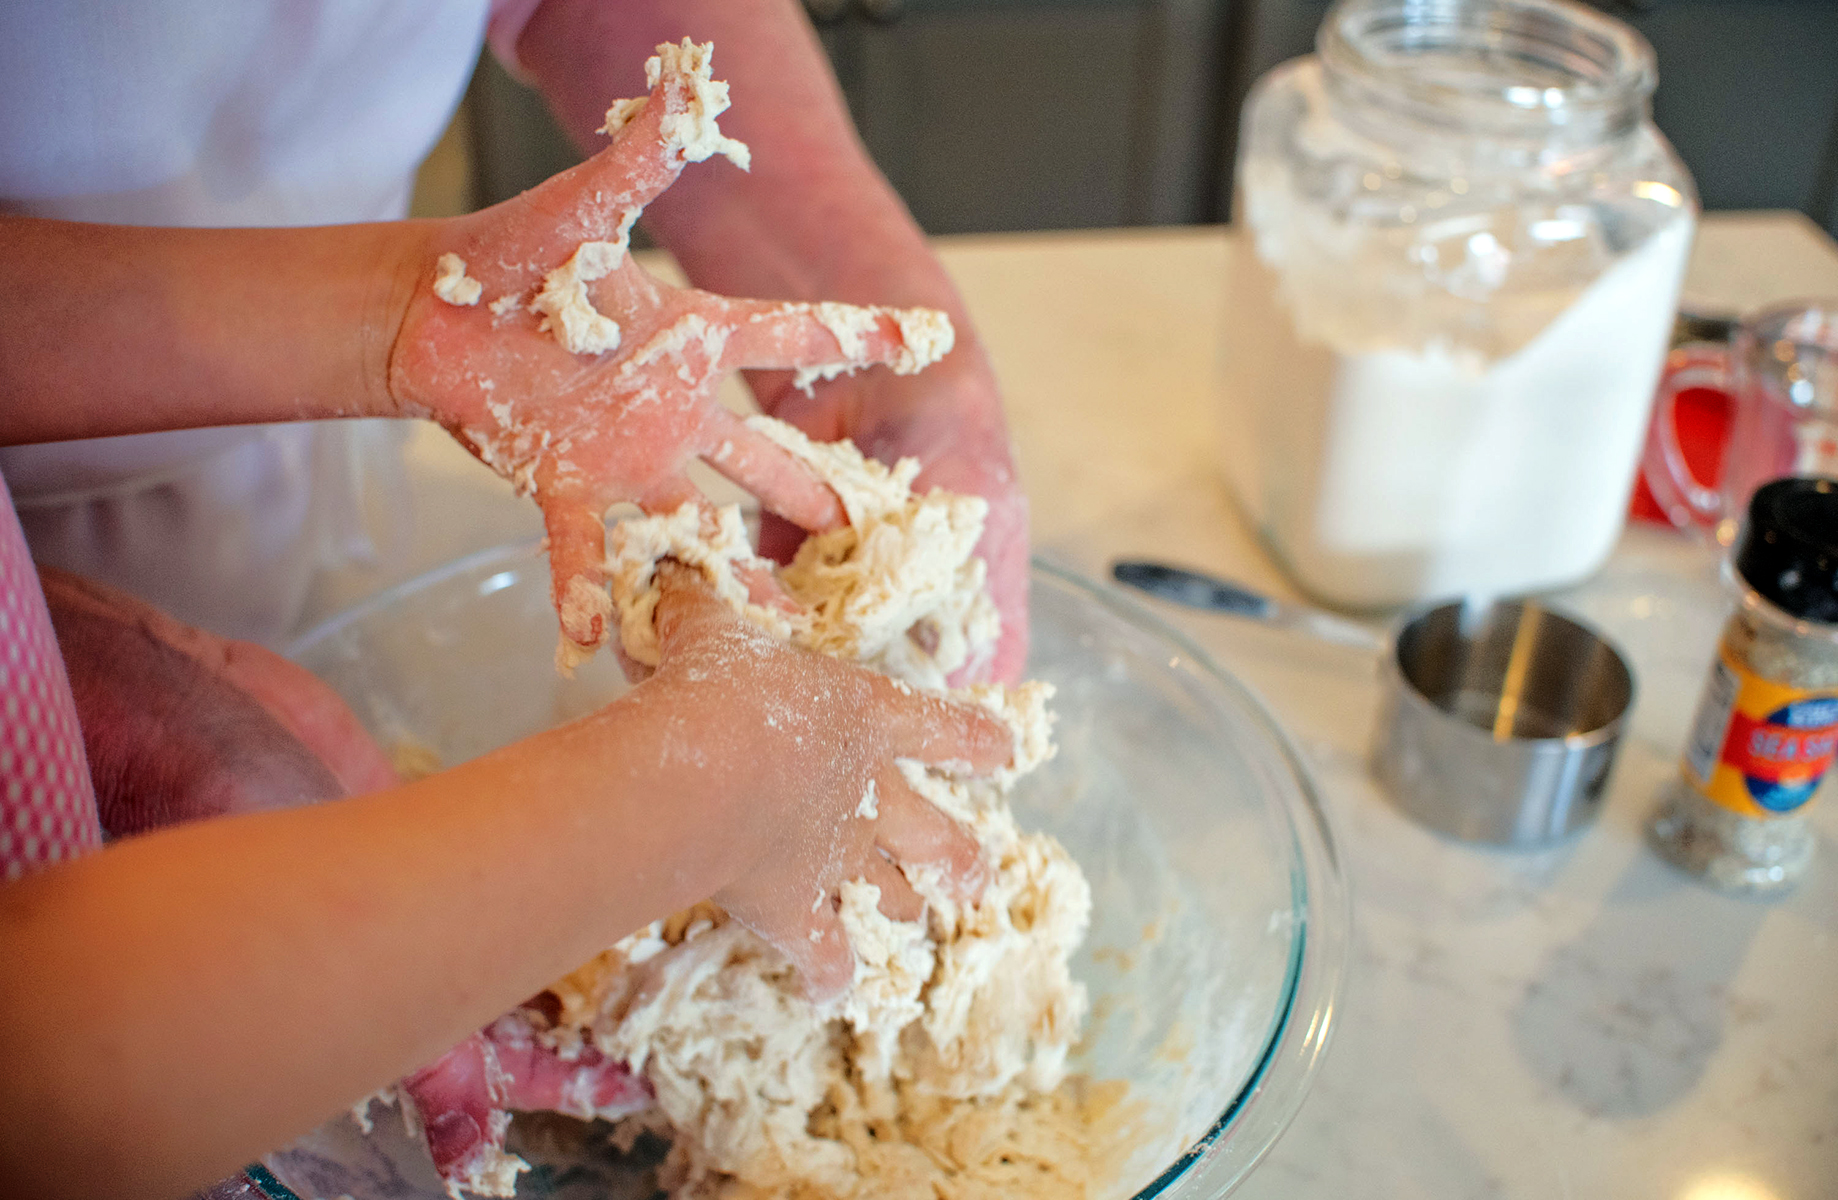
~ Get the dough into some sort of ball shape and drizzle a tiny bit of olive oil on top smearing it around with those doughy fingertips you already have. This is to prevent the top from drying out.
~ Cover the bowl with plastic wrap but not absolutely air tight.
~ Put in the fridge overnight, 24 hours, or even as long as 5 days. The longer it stays in there the better the flavor will develop from the slow fermentation.
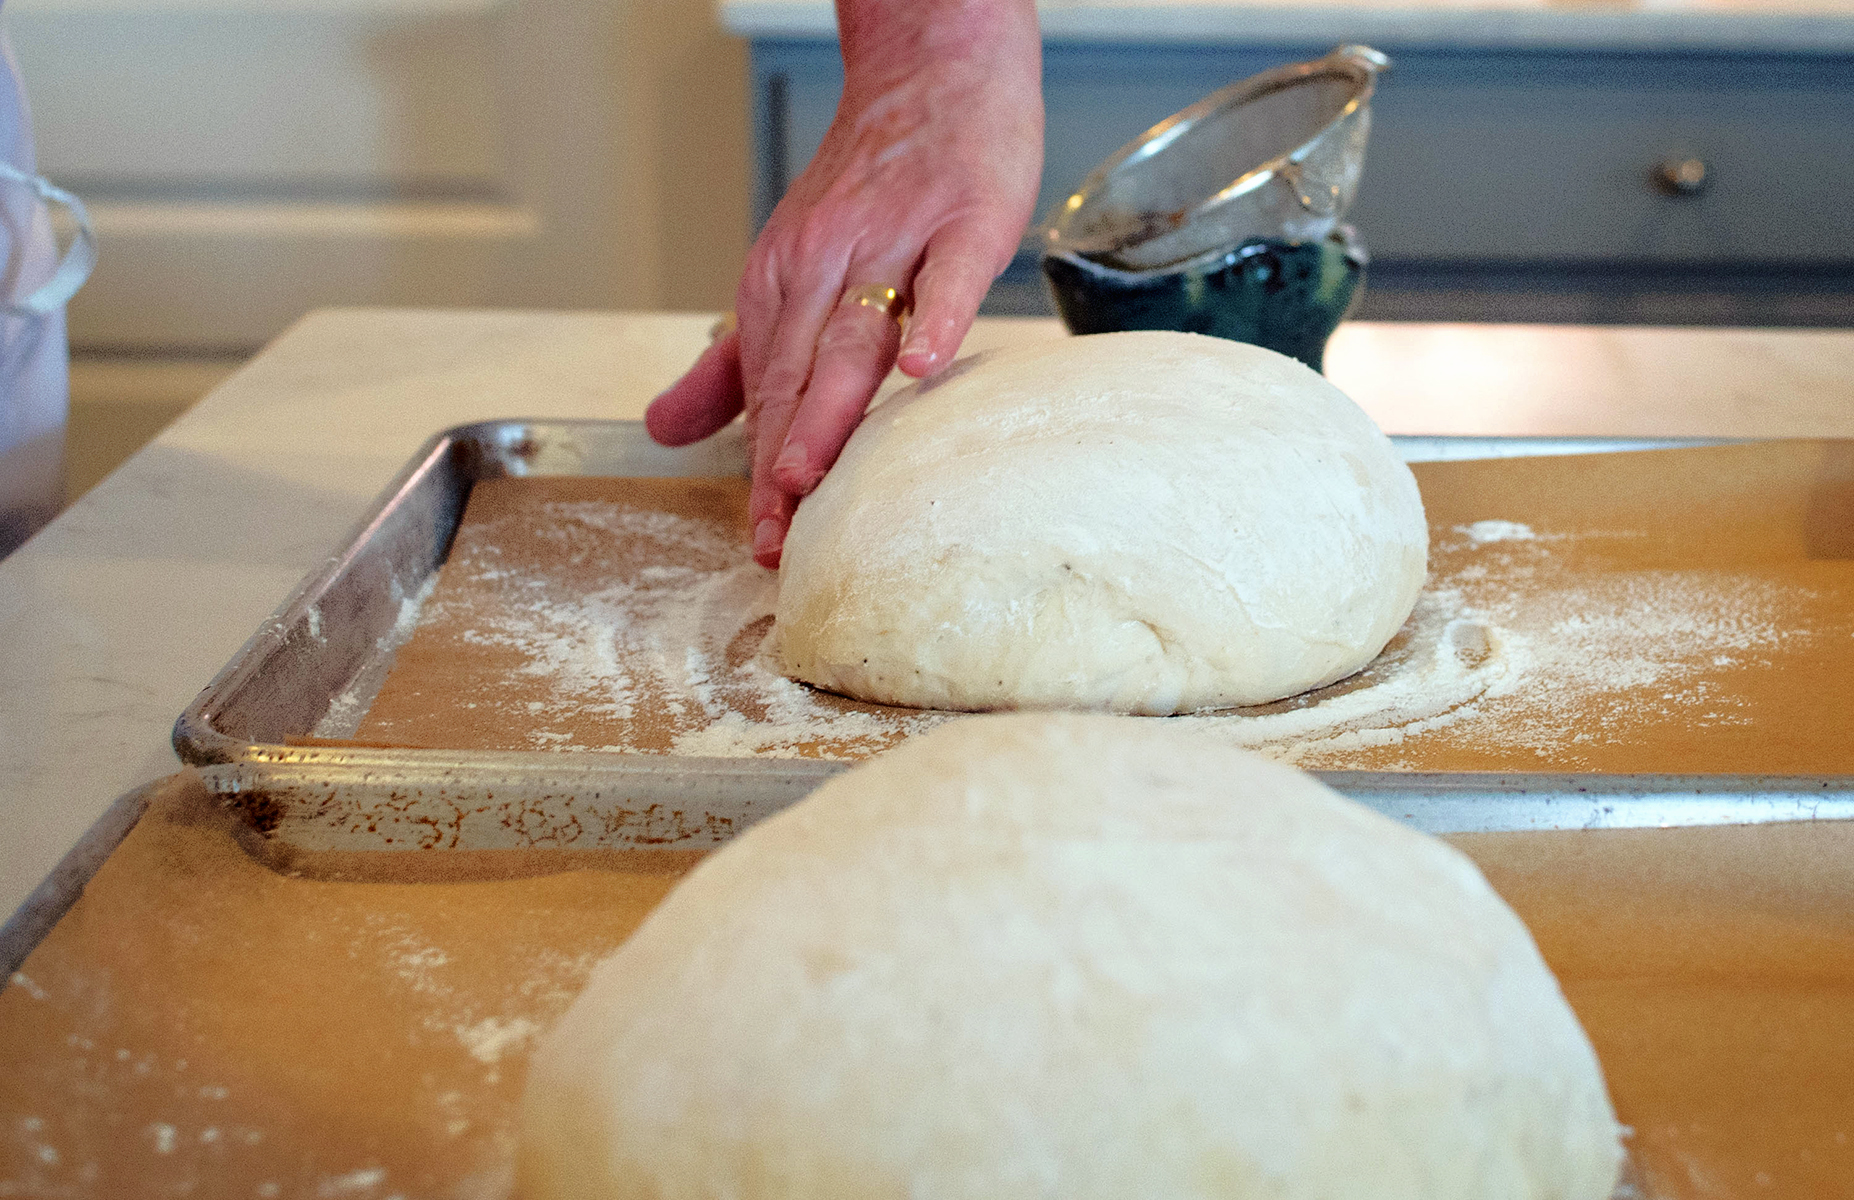
~ When ready to bake, plop the dough out onto a lightly floured surface and gently press it out to a rough rectangle about ¾ inches thick.
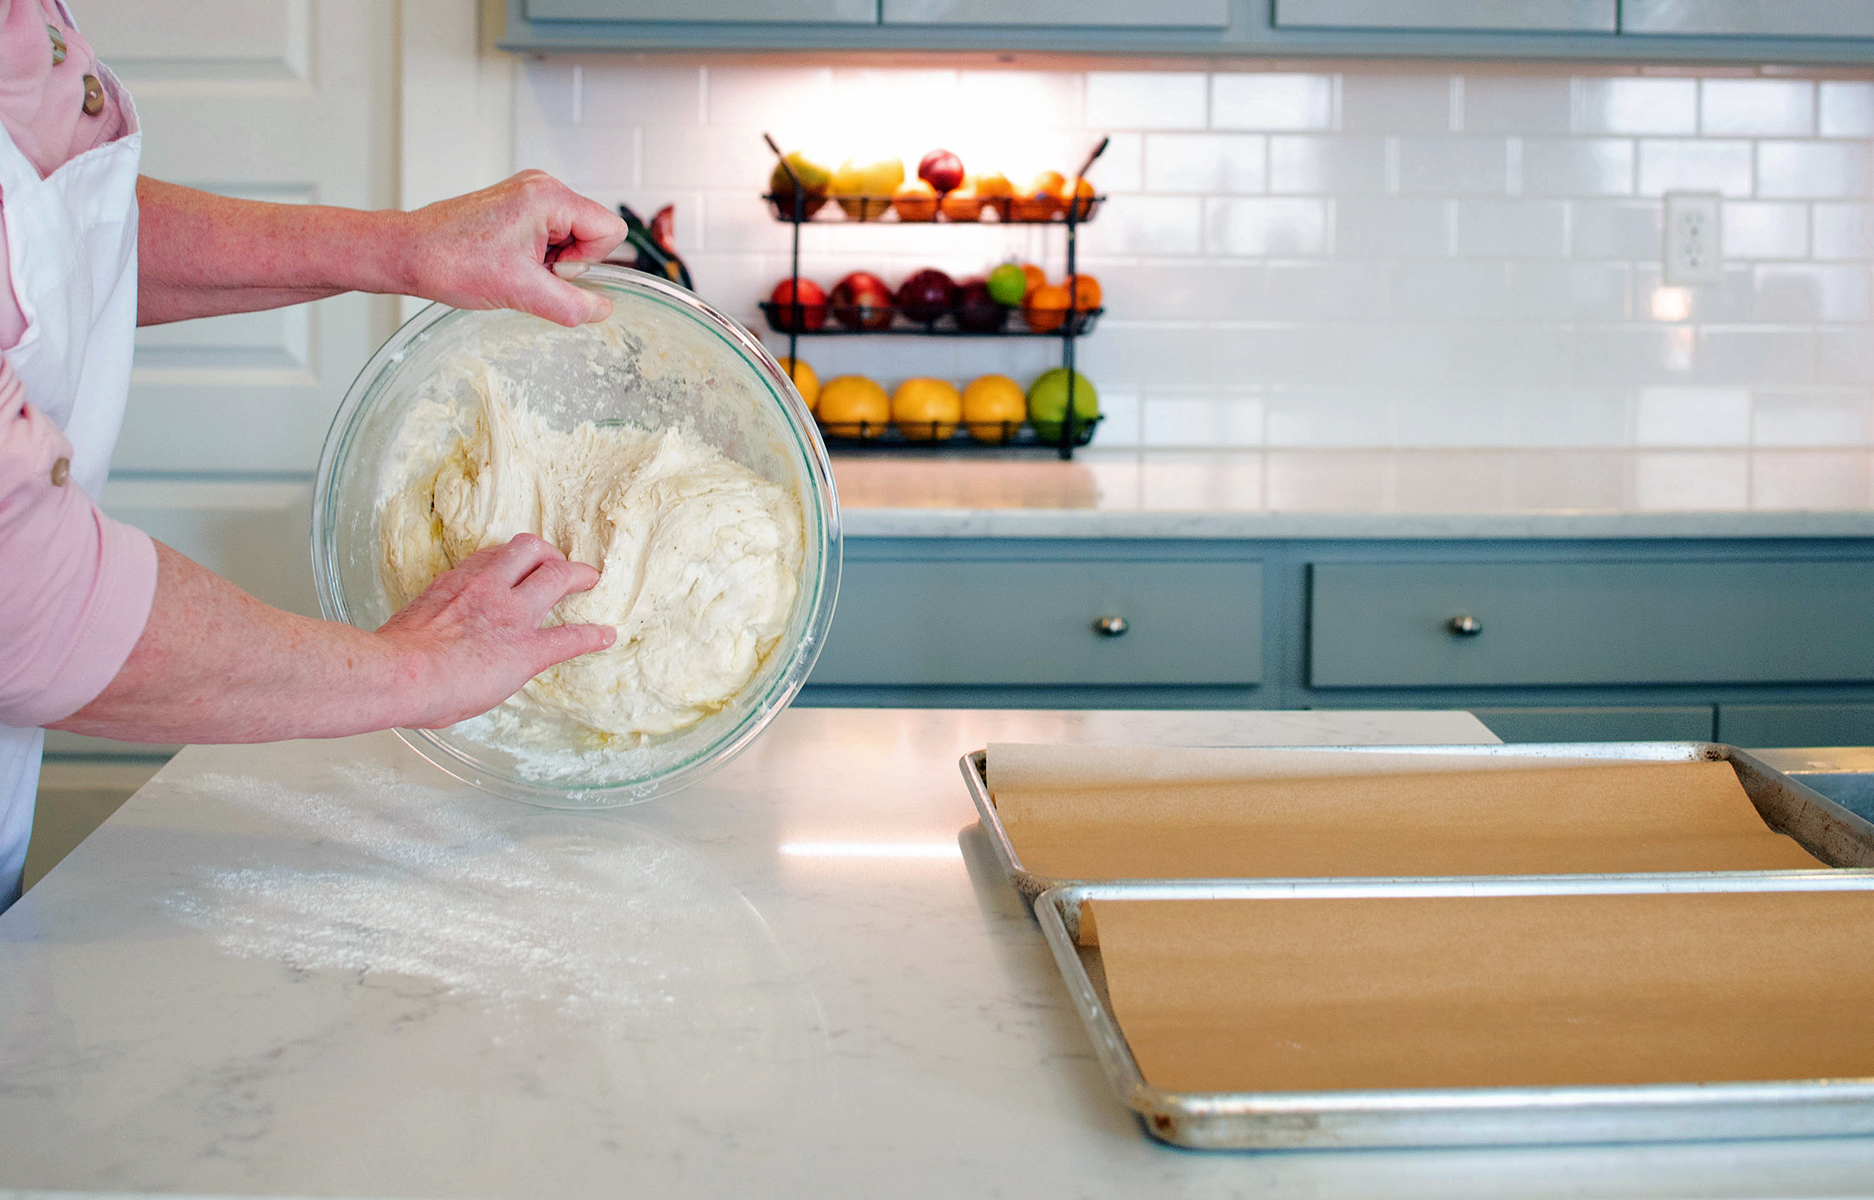

Fold it over in thirds like a business letter and then flip it over with the smooth side up, just press the sides and edges together to get a rustic round shape. Not necessary to be fussy here. Child optional but highly recommended.
Place on parchment paper dusted with a little bit of cornmeal, cover loosely with a tea towel and set in a draft free place for about 45 to 60 minutes depending on the room temperature.
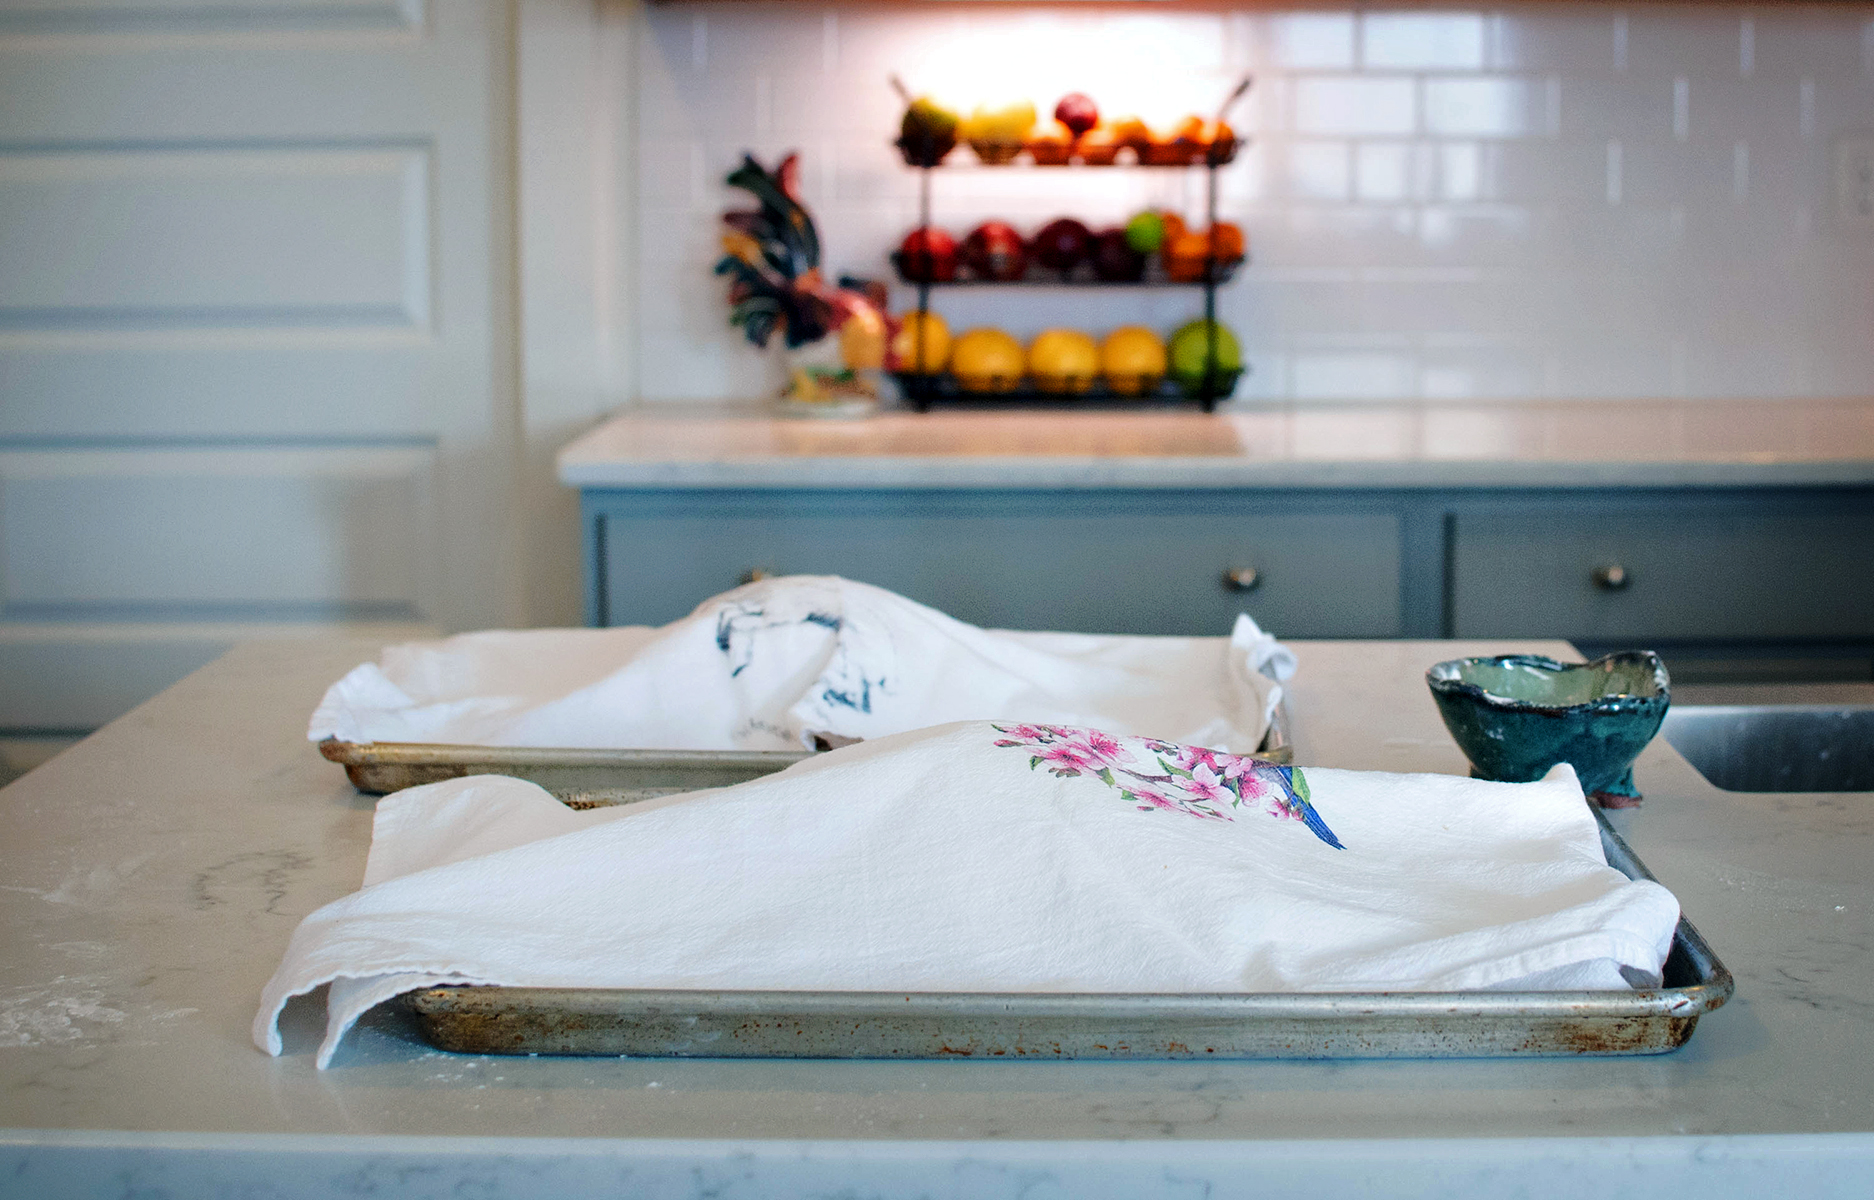
Preheat your oven during this time to 450 F.
The dough is ready for the oven when poked lightly and a slight indentation remains.
Dust a little flour on top of the loaf and rub around with your hand to smooth out but don’t press so hard the dough deflates. Looking for a whitish coating is all.
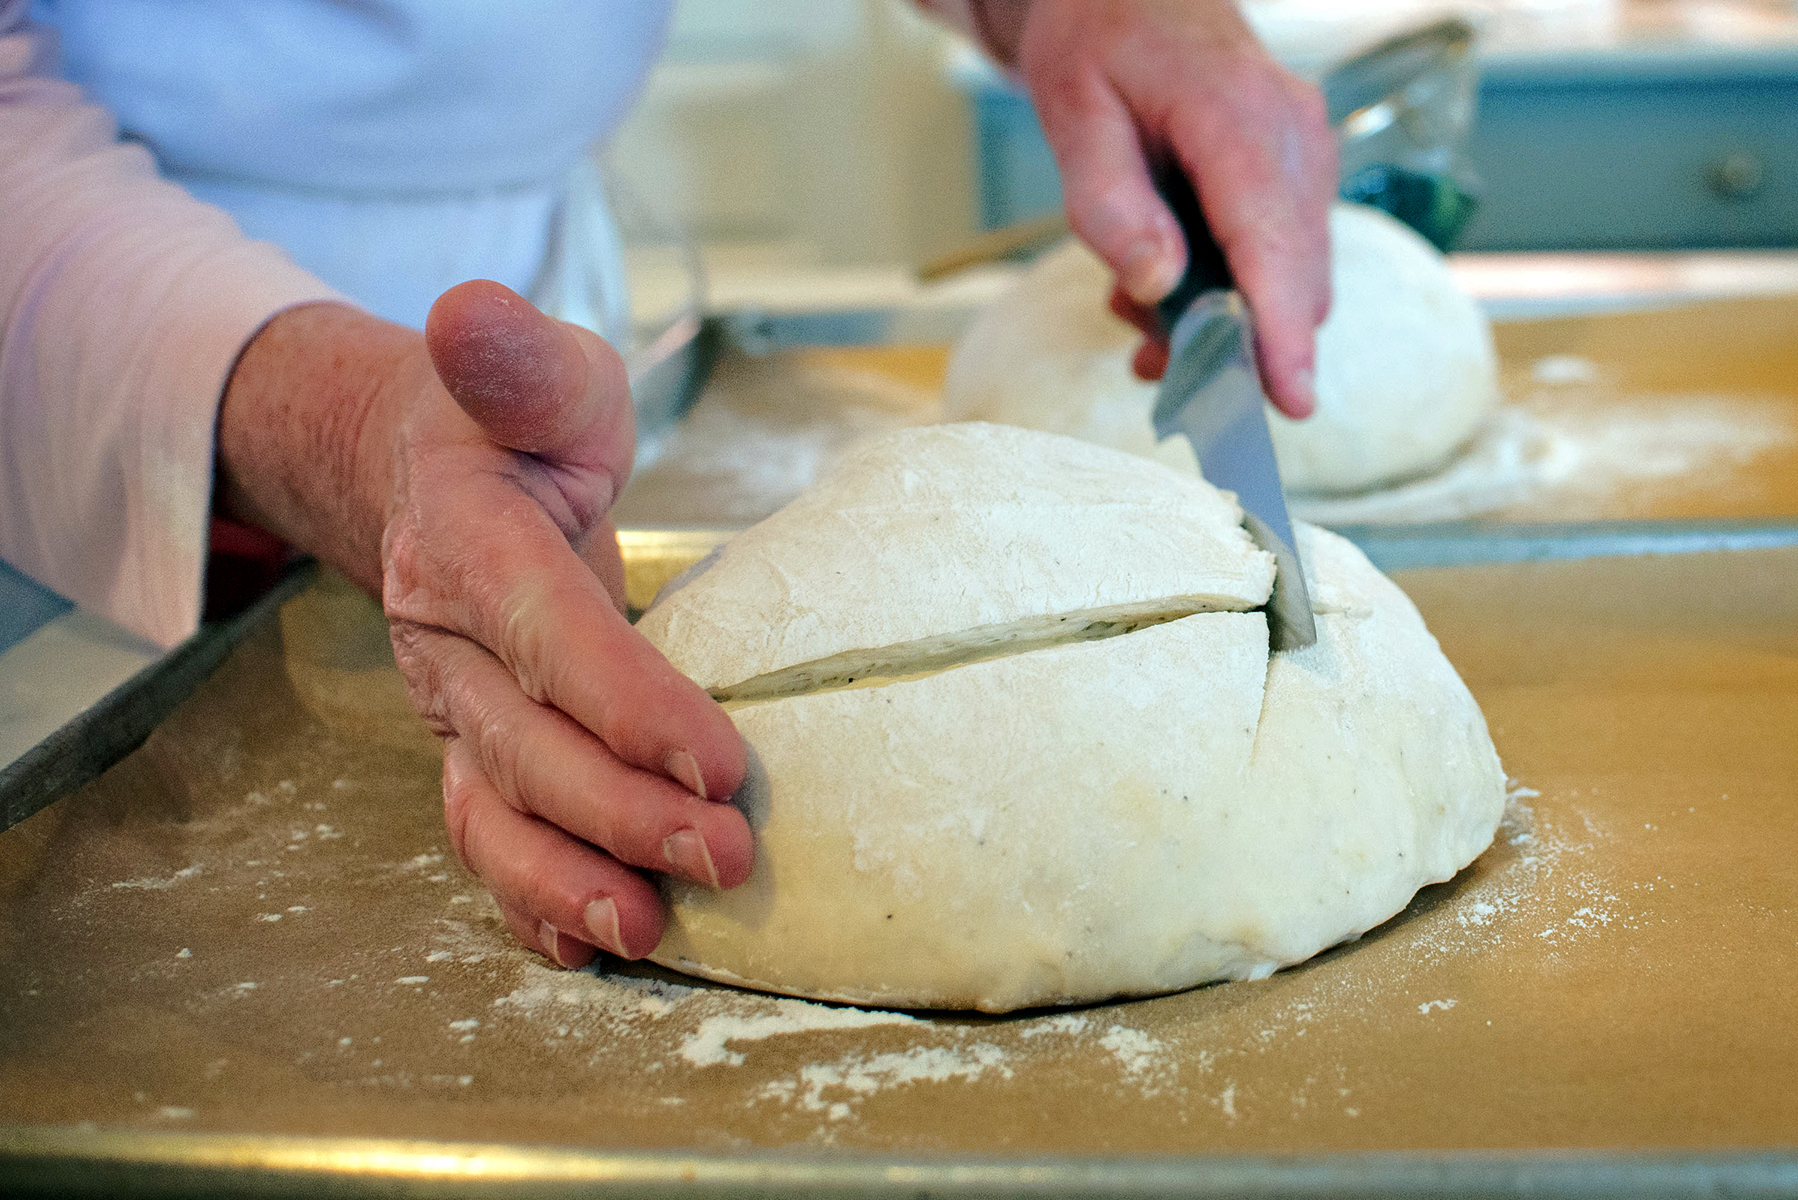
Using a sharp serrated knife, hold it at an angle to cut a slash or two down the center or off center. This will be where the dough will open up and is needed to keep the dough from cracking open at the bottom.
Any design cut into the bread will appear after baking such as the cross below. Just cut shallow lines with your knife and lightly dab with a pastry brush dipped in cocoa powder to really show off your design. The slashes are still needed off to the sides to give the bread a place to expand rather than in your design.
When placing in the oven, spritz the oven and loaf with plain cool water from a clean spray bottle. You can also just throw a few ice cubes in the bottom of the oven but be careful of electrical elements.
After about 10 minutes, give the dough another water spritz and bake for about 35-40 minutes total time. Best to use a digital quick-read thermometer and internal temperature should be at 195-205 F.
Remove from oven and tip the loaf up on the edge of your pan, allow to cool at least 30 minutes. I know it will be hard to resist the crackly crust and awesome aroma but the inside is still finishing to bake and if cut too soon it may be gummy.
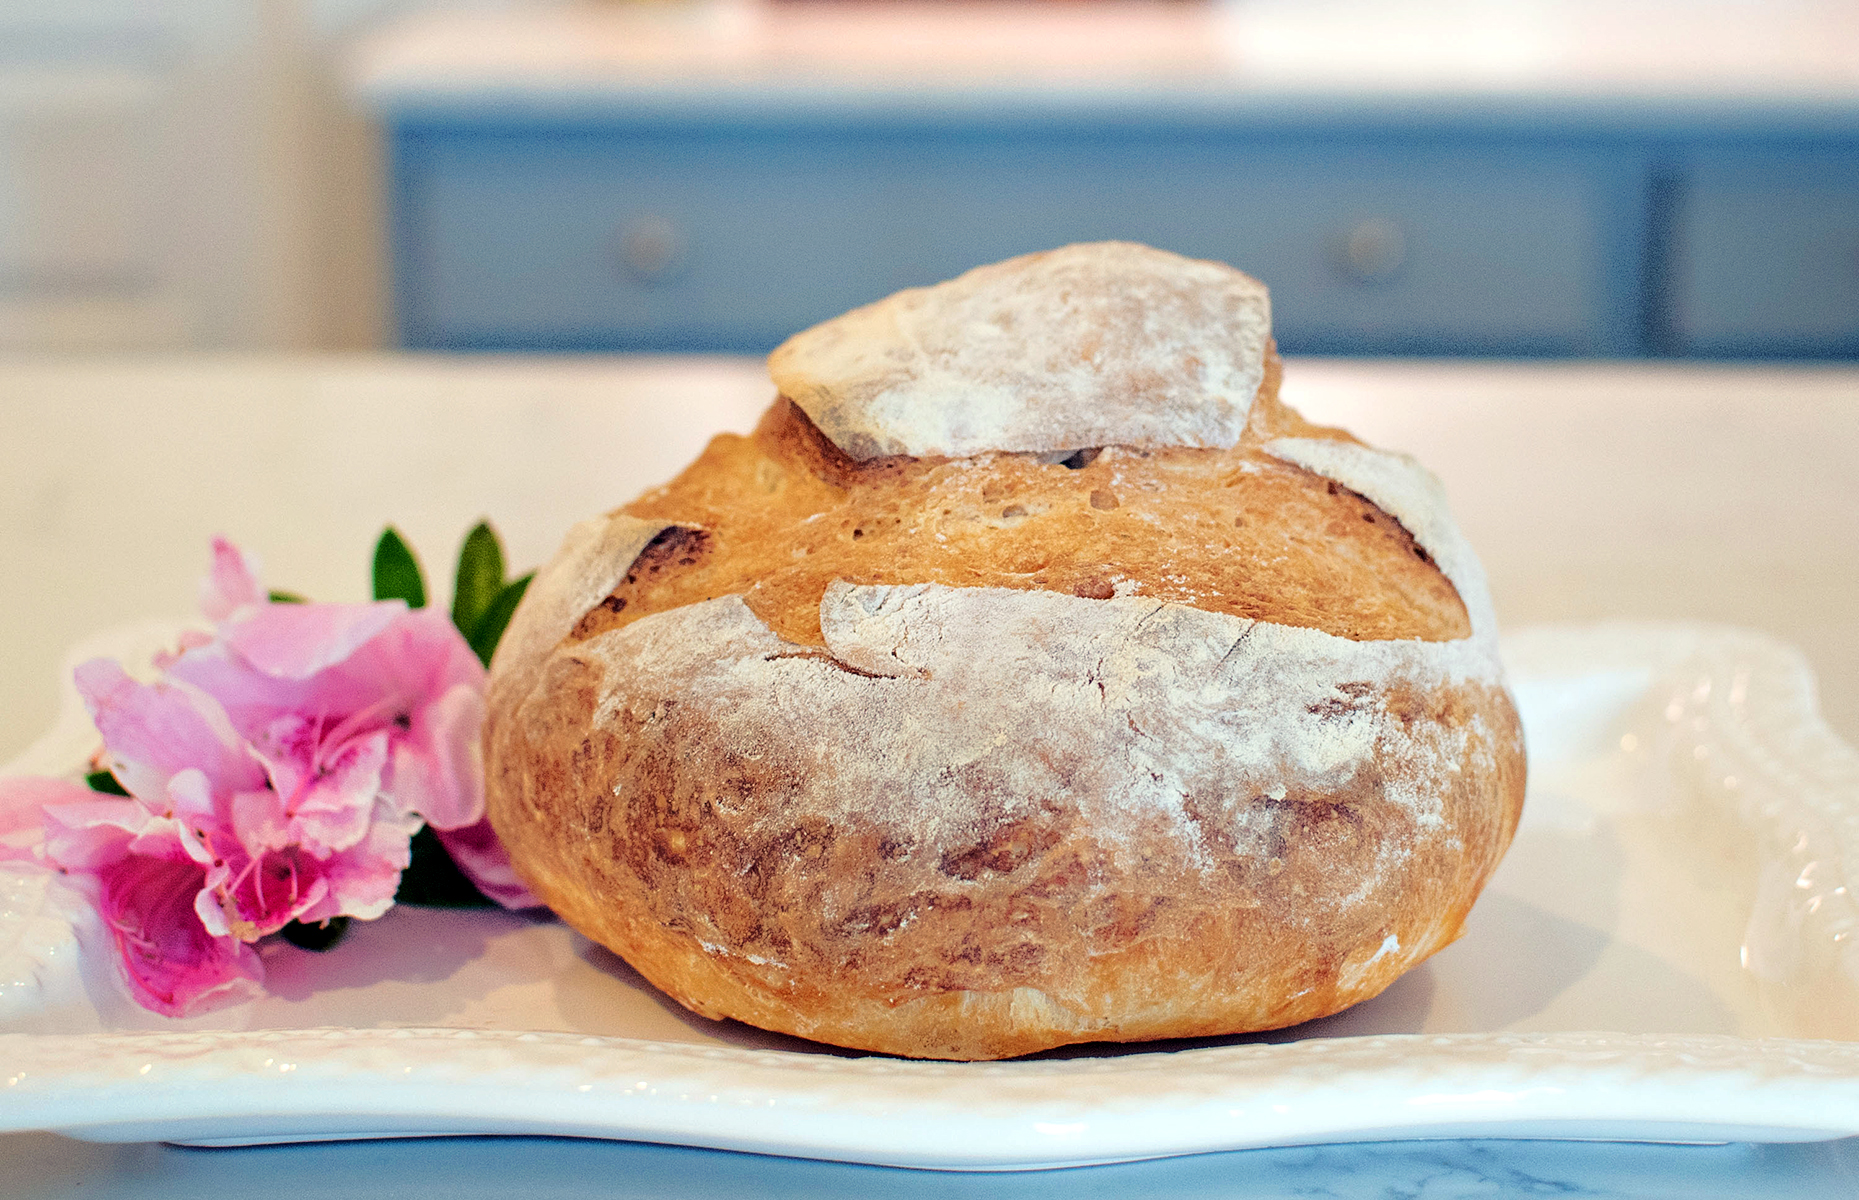
Use a good sharp serrated bread knife to slice. Never refrigerate yeast bread, there is a chemical staling that happens at 41 F so leave at room temperature or slice it and freeze, then toast as needed.
Options:
You can add any spices, dry/fresh herbs, cheese, shredded meat like pepperoni, or anything left in the fridge to the dough while mixing but be aware that anything too salty or you will inhibit the yeast growth.
![]()
Recipe by Janet Allen
Images by Kristie Allen Photography

Inspired by confectionary art and baking, Janet Allen left a full time medical job in 1999 turning her part-time wedding cake business into a full-time career. Janet attended the “Culinary Institute of America” in Hyde Park, N.Y. and studied baking, pastry and advanced decorating. Now, making a full circle many years later, Janet is back in the medical field on a more limited basis but continues to use her artistic talents in pastry in her personal life. She works closely with her husband Doug, AKA Chef, believing “two are better than one, because they have a good reward for their toil.” Janet is wife, mother, grandmother, mother-in-law (she drops the in-law part) to all her “best loves” and, most importantly, she is a follower of Christ.
Leave a Reply


A Field Guide to Cultivating ~ Essentials to Cultivating a Whole Life, Rooted in Christ, and Flourishing in Fellowship
Enjoy our gift to you as our Welcome to Cultivating! Discover the purpose of The Cultivating Project, and how you might find a "What, you too?" experience here with this fellowship of makers!
I love this Janet. What a delight to find this from you here!! XO